Installation Guide

Download the updated Morpho Utility, To download click here

  • Extract downloaded file and use password = spicemoney
  • Pluggin the morpho biometric device in your computer / laptop
  • Double clicking on the downloaded file MorphoInstaller_2.1.exe to start installation.
    • Only WINDOWS 10 user will get below screen. Click on More info
    • Incase your system antivirus block MorphoInstaller_2.1.exe, please disable the antivirus during the installation.
  • Installation will begin and you will see the progress on screen. Press any key to continue the installation.
  • This utility first uninstall the Morpho drivers if any and install fresh drivers. Press YES to un-installed
  • Morpho Device installation is completed. Re-Login into Spice Money portal and you can use AePS.

    Download the updated Mantra utility, To download click here

    Extract downloaded file and run the utility by double clicking on the downloaded file MantraUtility.exe

    Start installation:

    1. Start installation:

      1.1. Double click on the downloaded file MantraUtility.exe to start installation.
      OR
      1.2. Right click on setup file and select Run as administrator.

      1.3. Only WINDOWS 10 user will get below screen. Click on More info and then Run anyway

      1.4. In case your system antivirus block MantraUtility.exe, please disable the antivirus during the installation.

      1.5. On running MantraUtility.exe, below screen will appear. Click on Yes to All.

      1.6. Below service /drivers will be installed:

      1.6.1. Mantra Registered Device Service Setup

      1.6.2. MFS100Driver Setup

      1.6.3. MFS100ClientService Setup

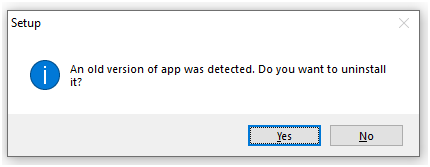
      1.7. You will be prompted for uninstallation of above mentioned service / drivers in case these are already installed on your system.
    2. Installation of below service /drivers
      • Mantra Registered Device Service Setup
      • MFS100Driver Setup
      • MFS100ClientService Setup
      2.1. Mantra Registered Device Service Setup

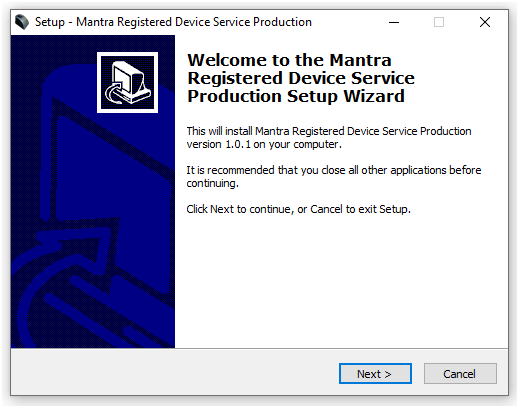
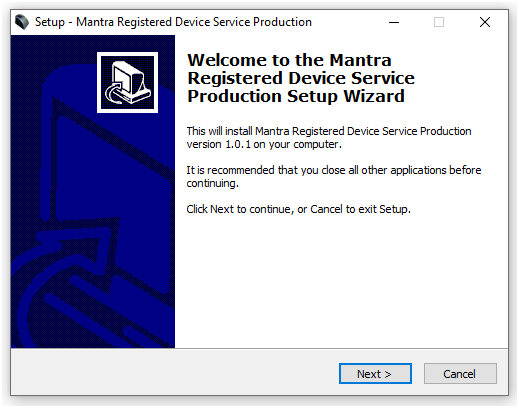
      2.1.1. Welcome wizard for installation – (Mantra Registered Device Service Setup)

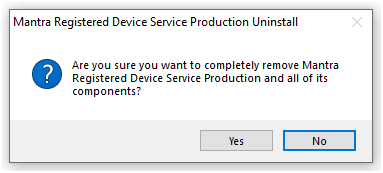
      2.1.1.1. Uninstallation of old Mantra Registered Device Service. (In case this service already exists).

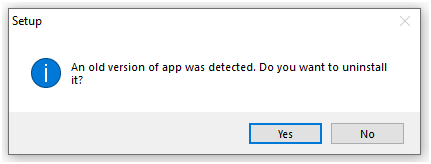
      2.1.1.1.1. Uninstalling Mantra Registered Device Service. Click on Yes to uninstall as mentioned below.

      2.1.1.1.2. Uninstalling Mantra Registered Device Service. Click on Yes

      2.1.2. Installing Mantra Registered Device Service. Click on Next.

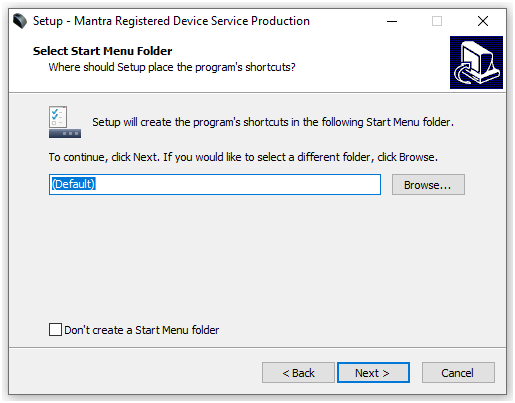
      2.1.3. Installing Mantra Registered Device Service (Select Start Manu Folder). Click on Next.

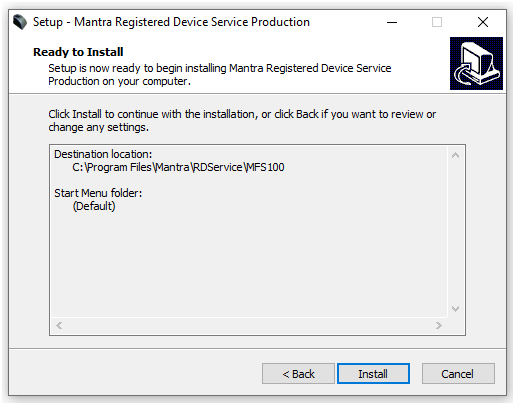
      2.1.4. Installing Mantra Registered Device Service (Ready to Install). Click on Install.

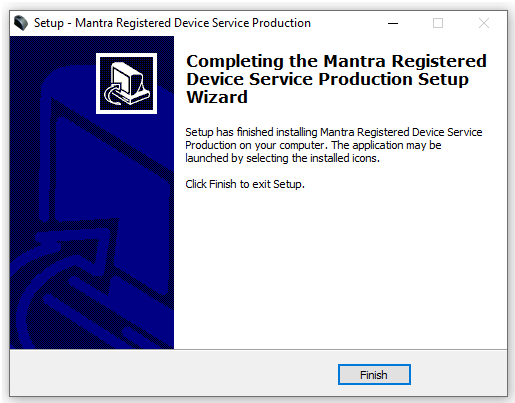
      2.1.5. Installing Mantra Registered Device Service (Completion – Installation complete). Click on Finish.

      2.2. MFS100Driver Setup

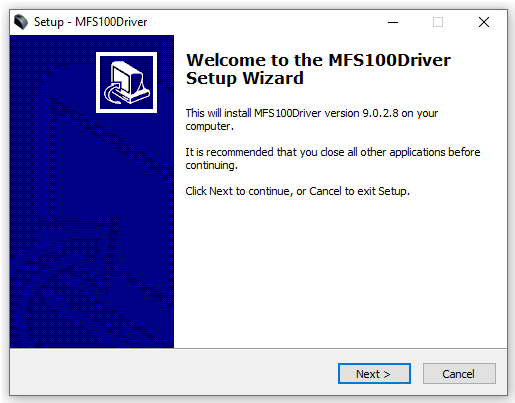
      2.2.1. Welcome wizard for installation – (MFS100Driver Setup)

      2.2.1.1. Uninstallation of old MFS100Driver Setup. (In case this driver already exists).

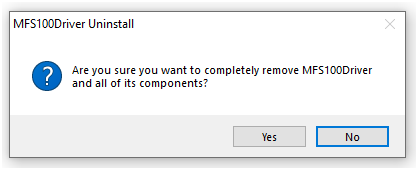
      2.2.1.1.1. Uninstalling MFS100Driver Setup. Click on Yes to uninstall as mentioned below.

      2.2.1.1.2. Uninstalling MFS100Driver Setup (re-confirmation). Click on Yes

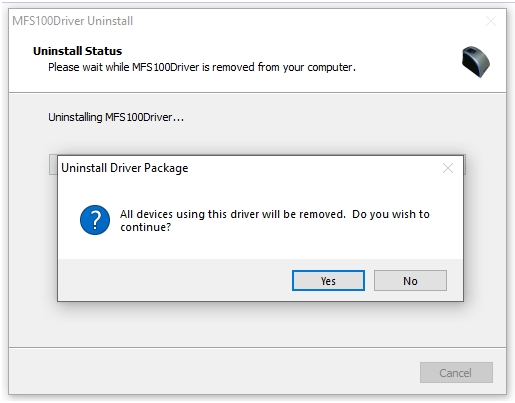
      2.2.1.1.3. Uninstalling MFS100Driver Setup (Uninstall Driver Package). Click on Yes

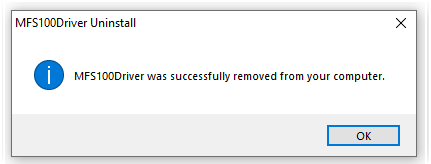
      2.2.1.1.4. Uninstalling MFS100Driver Setup (Uninstall complete) Click on Ok.

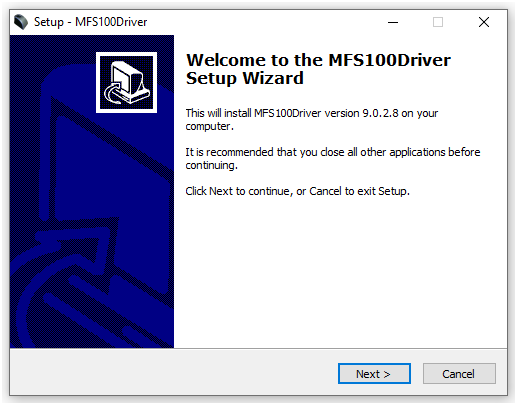
      2.2.2. Installing MFS100Driver Setup. Click on Next.

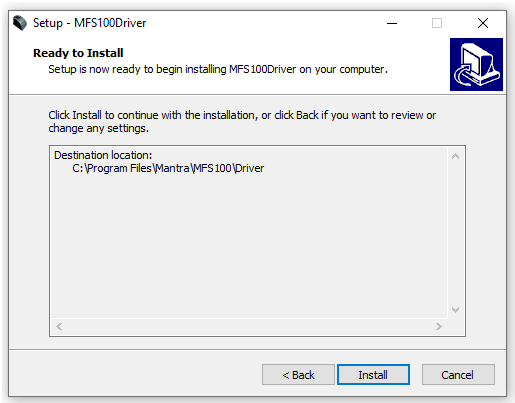
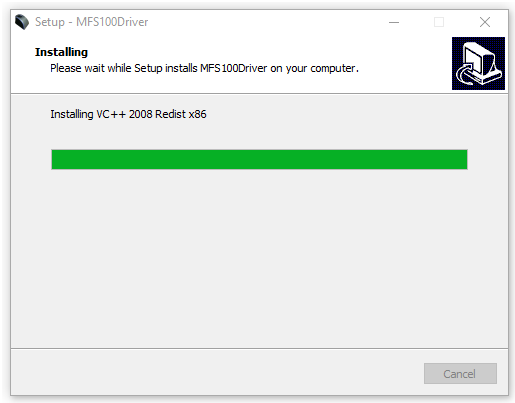
      2.2.3. Installing MFS100Driver Setup (Ready to Install). Click on Install.

      2.2.3.1.

      2.2.3.2.


      2.2.4. Installing MFS100Driver Setup (Completion – Installation complete). Click on Finish.

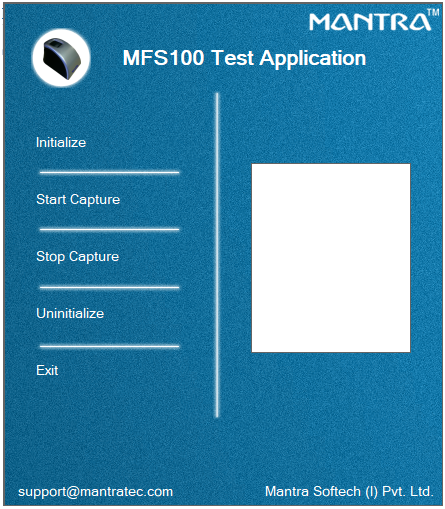
      2.2.5. MFS100Driver Setup Installed (MFS100Driver Test ).

      2.2.5.1. Connect mantra device to laptop / desktop PC

      2.2.5.2. Click Initialize

      2.2.5.3. Start Capture.

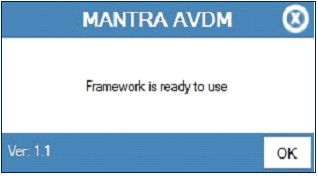
      2.2.6. MFS100Driver Setup Initilization and Test - Mantra frame work is now ready to use. Click Ok

      2.3. MFS100ClientService Setup

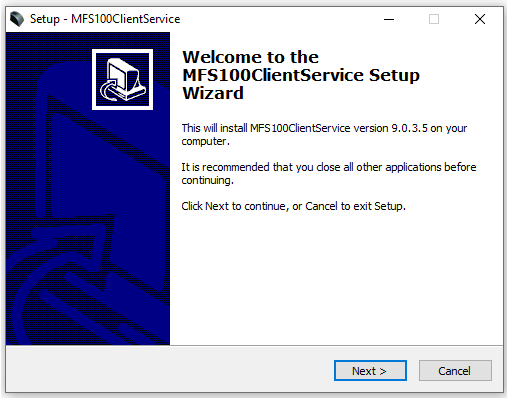
      2.3.1. Welcome wizard for installation – (MFS100ClientService Setup)

      2.3.1.1. Uninstallation of old MFS100ClientService Setup. (In case this MFS100 client service already exists).

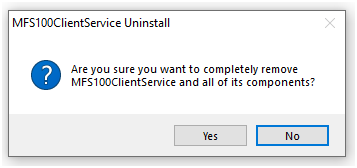
      2.3.1.1.1. Uninstalling MFS100ClientService Setup. Click on Yes to uninstall as mentioned below.

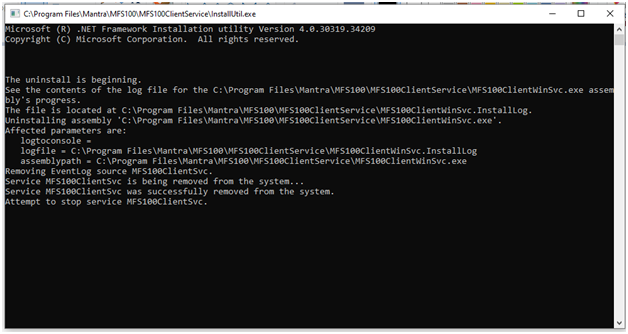
      2.3.1.1.2. Uninstalling MFS100ClientService Setup (re-confirmation). Click on Yes.

      2.3.1.1.3.

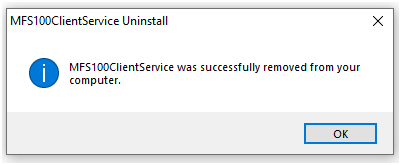
      2.3.1.1.4. Uninstalling MFS100ClientService Setup (Uninstall complete) Click on Ok.

      2.3.2. Installing MFS100ClientService Setup. Click on Next.

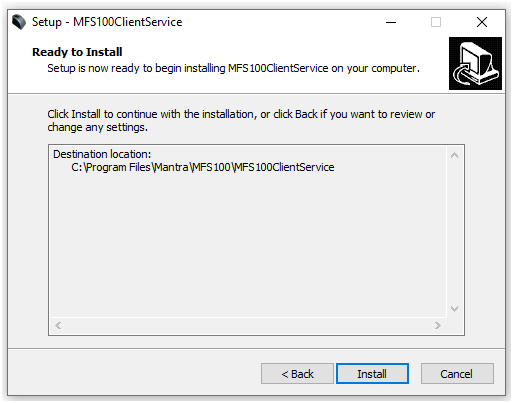
      2.3.3. Installing MFS100ClientService Setup (Ready to Install). Click on Install.

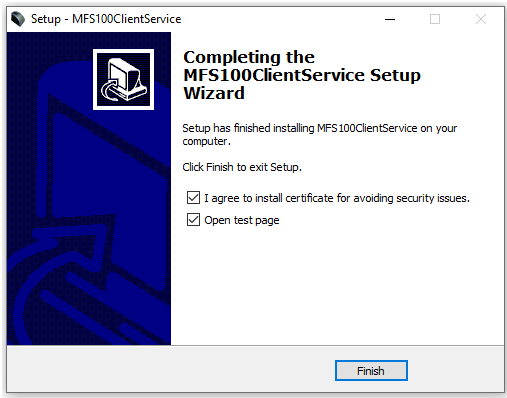
      2.3.4. Installing MFS100ClientService Setup (Completion – Installation complete). Click on Finish.

      2.3.4.1.

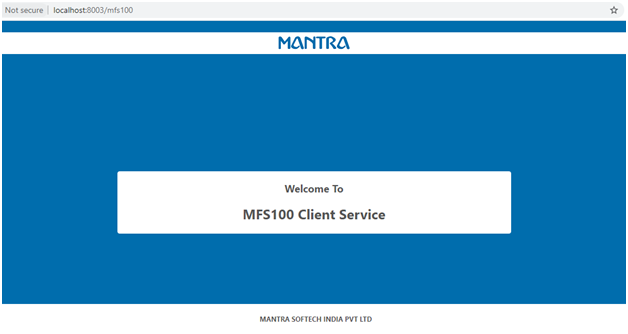
      2.3.4.2. MFS100ClientService Setup installed and welcome page come like this.

    3. PC configuration Check (only for information). No action required.
      3.1. After installation of RD Service, it can be found under Services form Control Panel\All Control Panel Items\Administrative Tools.

      3.2. Browser configuration for Mantra Service

      3.2.1. Chrome - Open chrome browser and write below in URL and click on enable Allow invalid certificates for resources loaded from localhost and then click Relaunch Now. chrome://flags/#allow-insecure-localhost

      3.2.2. Internet Explorer

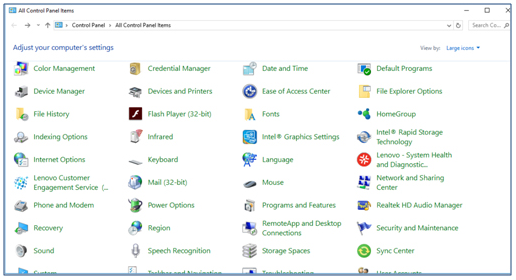
      3.2.2.1. Open control panel in your desktop/laptop, click on Internet Options Control panel >> Internet options

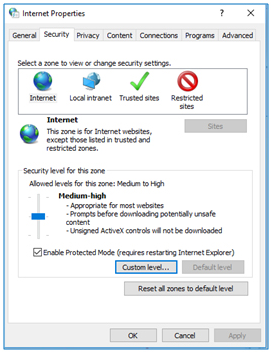
      3.2.2.2. Dialog box Internet properties will open, click on security tab then click on Custom level… button

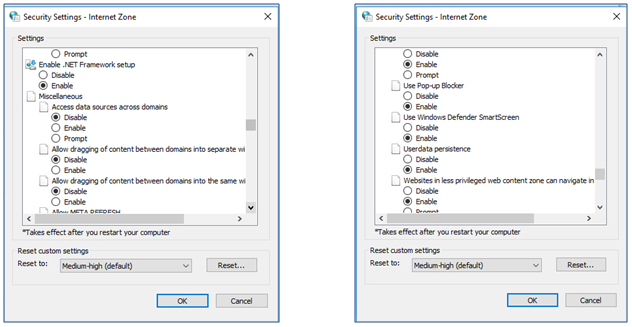
      3.2.2.3. Dialog box Settings will open, slide to miscellaneous then select Enable option for Access data sources across domains, and allow dragging of content between domains into separate window & Allow dragging of content between domains into same window.

      3.2.2.4. Slide to Use window defender smart screen or Use smart screen filter select disable option and then click Ok button.

      3.2.2.5. Open Internet Explorer browser, type https://download.mantratecapp.com/ Click on setting button In the dropdown select Internet Option

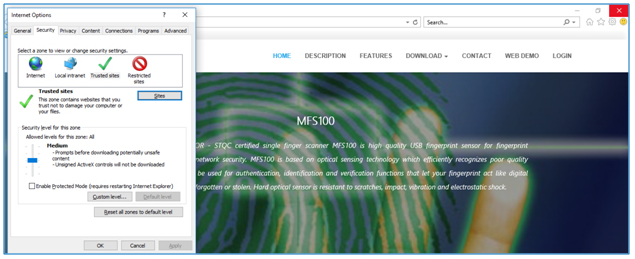
      3.2.2.6. Dialog box Internet option will open, click on Security tab, click on trusted sites then click on Sites button.

      3.2.2.7. Dialog Box Trusted Sites will open, click on Add button , the check box to be uncheck in case your browser use HTTP instead of HTTPS, click on close.

      3.2.2.8. Restart the system manually (in case restart prompt appeared in between of installation process or after finishing the same then ignore then same and do it manually).

      3.2.2.9. Mantra Device Installation is complete. Plug in the Mantra device and you can use AePS.

Please follow the steps below to install the driver for the SecuGen hamster pro 20 device:

  • Log on to your system
  • Click on start
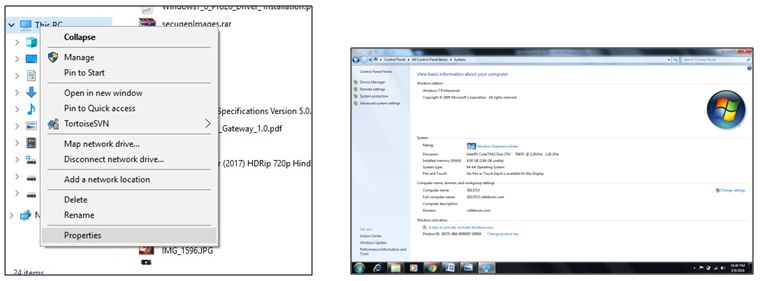
  • Right click on computer/ MyPC
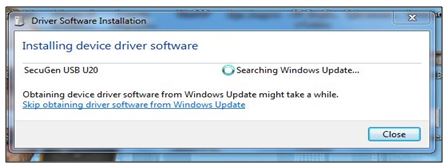
  • Select properties from menu Check your system type, it should be 32 bit or 64 bit.
  • To download SecuGen pro u20 legacy device driver,click here
  • Download and extract “Secugen.zip” file and use password = spicemoney
  • Now disconnect the system from local internet
  • Connect the SecuGen hamster pro20 device to your system, it will automatically try to update the device drivers
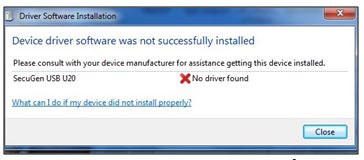
  • A window will open “installing device driver software”
  • Click on “skip obtaining driver software from windows update”
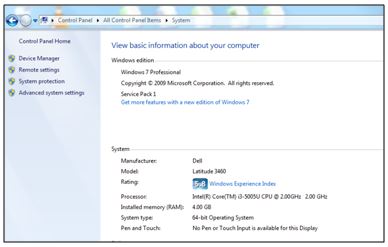
  • A message will be prompted “device driver was not successfully installed”
  • To install device driver manually, click on Start Button and open the control panel and select device manager
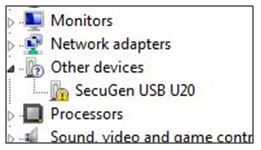
  • "In the device manager window look for “SecuGen USB U20” in yellow
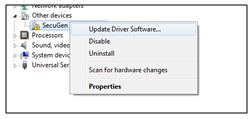
  • Now right click on SecuGen USB U20 device and select “update driver software”
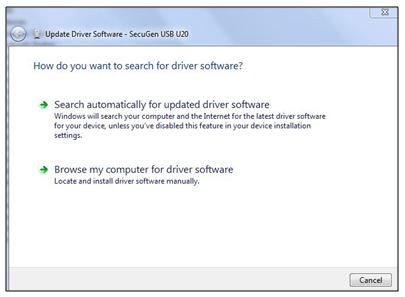
  • A dialog box will be displayed, select “Browser my computer for driver software”
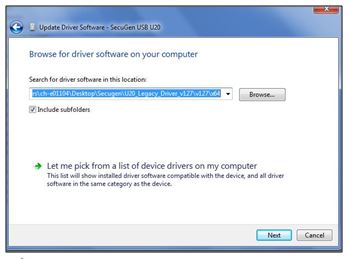
  • Now browse to the extracted driver folder. If your system is 32-bit then use the ‘x86’ folder or the ‘x64’ folder if 64-bit.
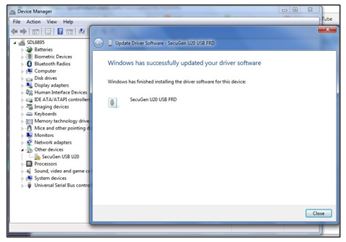
  • Once the device driver is updated it will show a success message.
  • In device manager window, you can see the device entry for the SecuGen HU20.

Note: it will show “SecuGen finger print device”, if you opt for automatic driver installation process or else it will display “SecuGen u20 usb frd” if done manually.

Test the SecuGen hamster pro 20 for correct driver installation

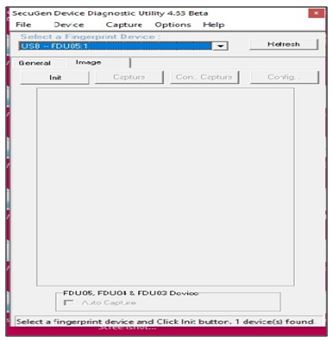
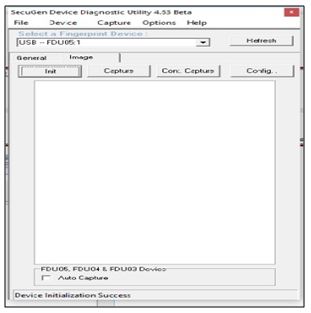
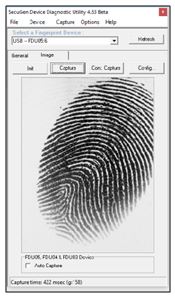
  • Use the sgdx.exe tool to check that the device is working correctly. There are three steps involved in the test:
    1. Identification of the device
    2. Initialization of the device
    3. Capture your fingerprint
  • The images below show how to use the tool as per the three steps mentioned above
    1. Step 1: if the selected device does not show USB – FDUO5 when the Hamster pro 20 is plugged in then the drivers have been incorrectly installed
    2. Step 2: once the device has been correctly selected click on ‘init’ to initialize the device. If the drivers have been correctly installed and the device is connected you should see a success message at the bottom
    3. Step 3: Place your finger on the device and click on ‘capture’. You should see your fingerprint displayed on the window. This indicates that the device and the drivers have been installed correctly

Important: The above steps only indicate that the device and the drivers are functioning correctly. For an application to integrate with the device the application developer needs to ensure that correct SecuGen device API files are installed with the application.

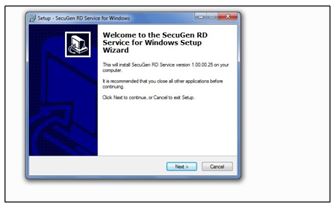
  • Post Secugen installation we need to install drivers for RD service by executing. Secugen.exe download link SGIRD_WIN32_10025.exe
  • After downloading the link Click on SGIRD_Windows_25
  • Click on SGIRD_WIN32_10025.exe
  • Click ‘next’
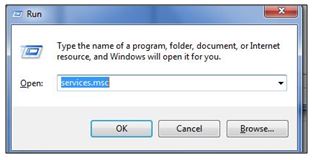
  • To check if the status of installed device, types the name Services.msc in Run as seen below and Windows will open it for you
  • Click ok
  • Check the status to be ‘started’ for SecuGen RD Service. If it is not showing started then click on Restart.

Please follow the steps below to install Startek:

  • Log on to your system
  • Click on start
  • Right click on computer/ MyPC
  • Select properties from menu, check your system type, it should be 32 bit or 64 bit.
  • To download startek driver click here.
  • Extract the zip file named “Startek.zip”, And use password = spicemoney
  • Open the “setup.exe” by right clicking on it.
  • Press Next, Next… and Close respectively in the popups to confirm Installation.
  • Install “Setup_FM220_RDservice.msi” by right clicking on it.
  • Install “Setup_FM220_Support.msi” by right clicking on it.
  • Press Next Next, Next… and close and then at last next and finish.
  • Finally test the capture and then use the device on Spice Money.

Please follow the steps below to install Precision:

  • Log on to your system.
  • Click on start.
  • Right click on computer/ MyPC.
  • Select properties from menu, check your system type, it should be 32 bit or 64 bit.
  • To download Precision driver click here.
  • Extract the zip file named “Precision.zip”. And use password = spicemoney
  • Right click “PBRDService.exe” and select Run as administrator.
  • Press “OK” to proceed the installation otherwise click “Cancel” button to cancel the installation.
  • Click on “Next” to start the installation.
  • Click on “I Agree”.
  • Click on “Next”.
  • Click on “Install”.
  • Click “Yes” to proceed.
  • Click on “Close” to complete the installation and click “YES” to reboot the system.
  • Once the installation is completed, please make sure that the following services are running:
    1.Go to run prompt, type “services.msc” and press enter.
    2. Search for the following services.
    a. PrecisionBiometricService.
    b. PrecisionManagementClient.
    c. PrecisionRDService.
    The services should be in started status.
Driver Link

Zip password = spicemoney